Installation · SENAITE
An updated version of the official installation instructions, working as of September 2024 - I subsequently found this which might be better: bika.documentation/docs/BikaSenaiteServerIntroduction.md at main · bikalims/bika.documentation
SENAITE is an Add-on for the Plone Content Management Framework and the installation instructions depend therefore mostly on the successful installation of Plone.
Operating system
We recommend to install SENAITE on Ubuntu or Debian Linux. Installation on MacOS works as well, but needs additional packages installed via Homebrew.
In this section we will mostly use Ubuntu 22.04 LTS as reference system.
The installation on other Linux distributions, MacOS or Windows is not covered here.
A note about Versions
The current codebase of SENAITE is at the moment only compatible with the latest version 4 of Plone.
☝️Note: This version of Plone works only with Python 2.x.
Python
Most UNIX based operating system (Linux/Mac OSX) ship already with a Python interpreter installed. However, it is not recommended to use the system interpreter to setup and install SENAITE on the local system.
Besides the required super-user permissions for installing additional Python libraries is that it might get upgraded by the system and get incompatible.
Therefore, it is better to setup a virtual Python environment with one of the following tools:
- Virtualenv: https://pypi.org/project/virtualenv
- Miniconda: https://conda.io/miniconda.html
In this manual we will use Miniconda.
Create a new user
Create a new user senaite in your system with the following commands:
$ sudo adduser --home /home/senaite --shell /bin/bash senaite
$ sudo usermod -aG sudo senaite
And make sure you became this user within the following sections:
$ sudo su - senaite
$ whoamisenaiteMiniconda
Download and install the Python 2.7 version for your operating system:
$ wget https://repo.anaconda.com/miniconda/Miniconda2-latest-Linux-x86_64.sh
$ bash /home/senaite/Miniconda2-latest-Linux-x86_64.sh
$ source /home/senaite/.bashrc
You can accept the default settings of the Miniconda installer.
Create a new Python environment with the name senaite:
$ conda create --name senaite python=2.7Activate the Python environment:
$ conda activate senaiteThe command which python can be used to check if the right Python interpreter is active in the current session:
$ which python/home/senaite/miniconda2/envs/senaite/bin/python$ python Python 2.7.17 |Anaconda, Inc.| (default, Oct 21 2019, 19:04:46) [GCC 7.3.0] on linux2
Type "help", "copyright", "credits" or "license" for more information.
>>>Type exit() to quit Python.
Install system dependencies
Install the required dependencies for SENAITE:
$ sudo apt install build-essential
$ sudo apt install python2.7 python2.7-dev
$ sudo apt install libxml2 libxml2-dev libxslt1.1 libxslt1-dev
$ sudo apt install libffi-dev libcairo2 libpango-1.0-0 libgdk-pixbuf2.0-0 libpangocairo-1.0-0 libgdk-pixbuf2.0-0
$ sudo apt install zlib1g zlib1g-dev
$ sudo apt install libjpeg-dev
Download the Plone Unified installer
The Plone Unified Installer installs Plone and its dependencies from source on most Unix-like platforms.
$ wget --no-check-certificate https://launchpad.net/plone/5.2/5.2.14/+download/Plone-5.2.14-UnifiedInstaller-1.0.tgz
$ tar xzf Plone-5.2.14-UnifiedInstaller-1.0.tgz
$ cd Plone-5.2.14-UnifiedInstaller-1.0
Install Plone
Next step is to install Plone with the provided install.sh shell script:
$ ./install.sh standalone --target=/home/senaite --instance=senaitelims --password=whateveryouwant --with-python=/home/senaite/miniconda2/envs/senaite/bin/python☝️Note: We install SENAITE in the directory /home/senaite/senaitelims and we have set the admin password to whateveryouwant.
Install SENAITE
To install SENAITE we need to modify the generated buildout.cfg config file. Buildout is an automation tool written in and extended with Python:
$ cd /home/senaite/senaitelims
$ vim buildout.cfg
☝️Note: You can use nano or any other text editor you feel comfortable with.
Add senaite.lims and simplejson to the eggs section of the file:
[buildout]
...
eggs =
  ...
  senaite.lims
  simplejson
zcml =
...
Modify the versions section of the file as follows:
[versions]
zc.buildout =
setuptools =
Pillow = 5.1.0
cssselect2 = 0.2.2
soupsieve = 1.9.5
# other pins not in plone
plone.recipe.unifiedinstaller = 5.2b1
buildout.sanitycheck = 1.0.2
collective.recipe.backup = 4.1.0

# only for Windows
nt-svcutils = 2.13.0
☝️Note: The version unpinning of zc.buildout and setuptools is important!
Install the requirements with the pip command of the local Python environment
$ pip install -r requirements.txtRun the buildout script:
$ PYTHONHTTPSVERIFY=0 buildoutOnce this process completes successfully, SENAITE is installed but not yet running.
Further links
- https://github.com/senaite/senaite.lims#readme
- http://www.buildout.org/en/latest/
- https://setuptools.readthedocs.io/en/latest
- https://docs.conda.io/en/latest/miniconda.html
Starting SENAITE
You start SENAITE from the terminal.
To start SENAITE in foreground (debug) mode, use this command:
$ bin/instance fgTo stop the server, you can press CTRL+C on your keyboard.
Note You can also start SENAITE in the background (production) mode with the command bin/instance start and stop it again with bin/instance stop.
This will print several logs to the terminal and notifies when the server is ready with the line:
2019-09-14 09:59:44 INFO Zope Ready to handle requestsOpen a browser (Safari/Chrome/FireFox …) and navigate to the URL http://localhost:8080
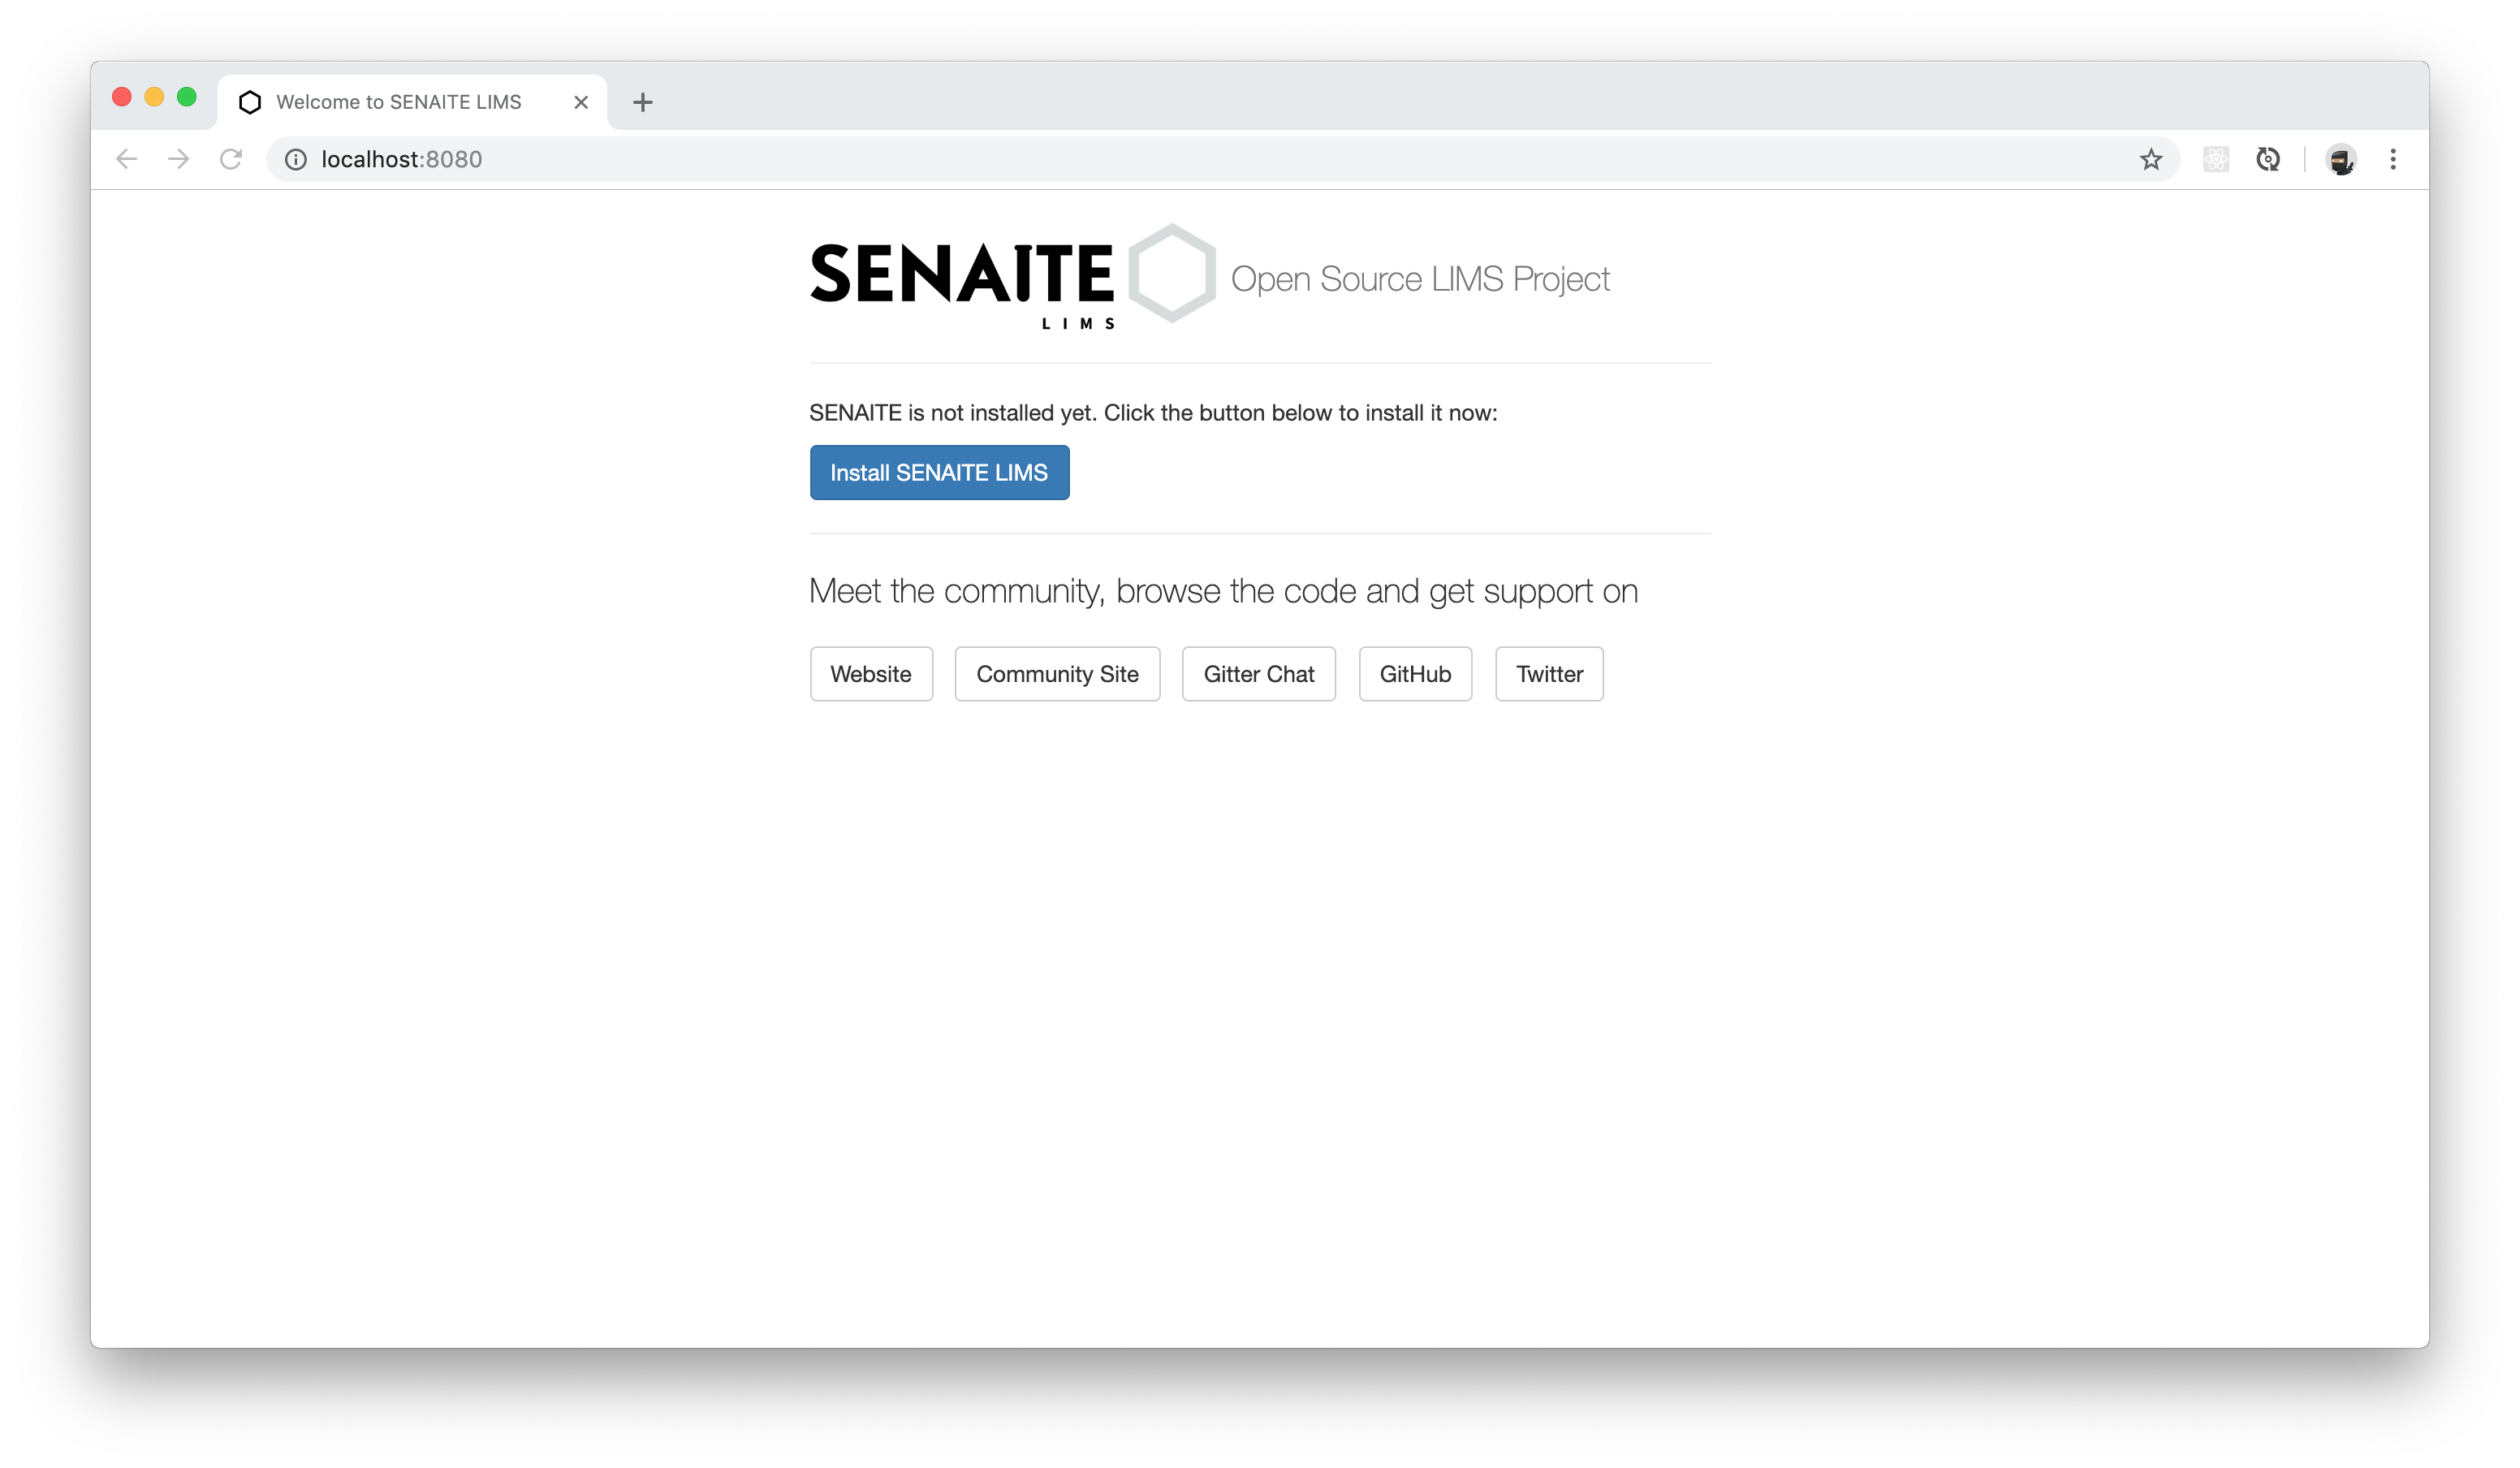
Log in with admin:whateveryouwant to proceed to the next page.
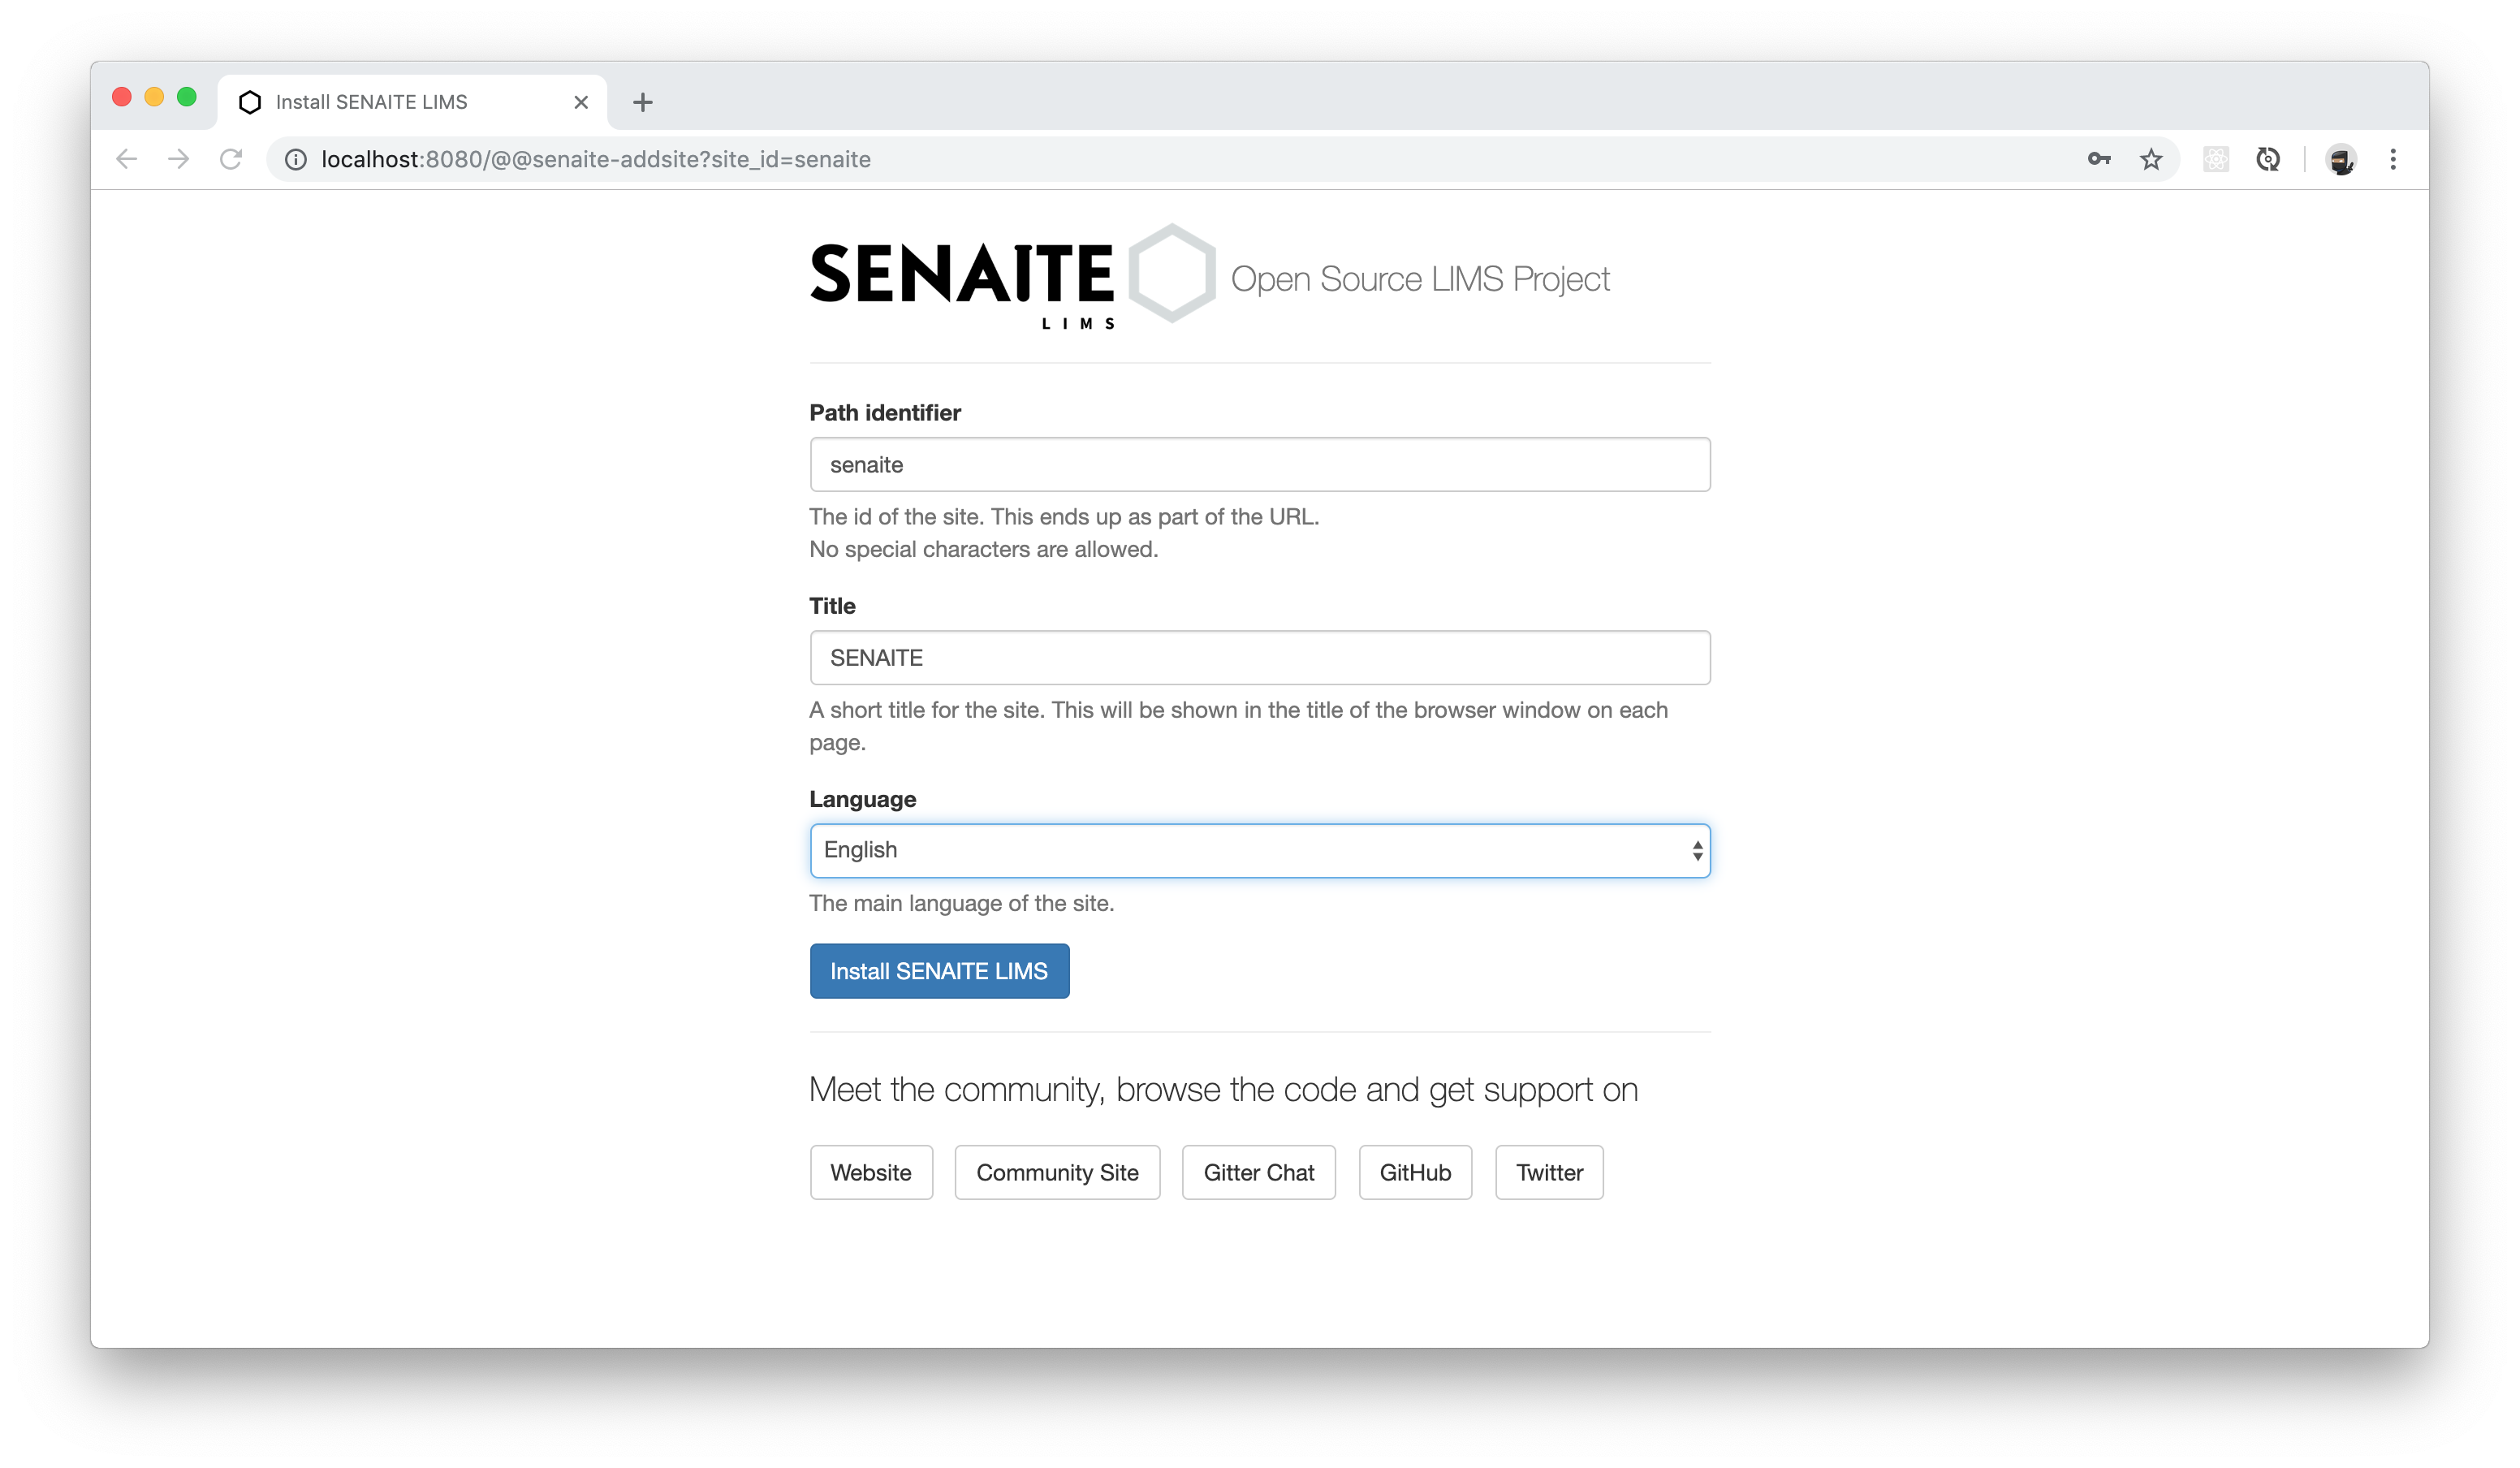
You can continue with the default settings and press the Install SENAITE LIMS button. After a few moments, SENAITE should be installed and the dashboard view appears.
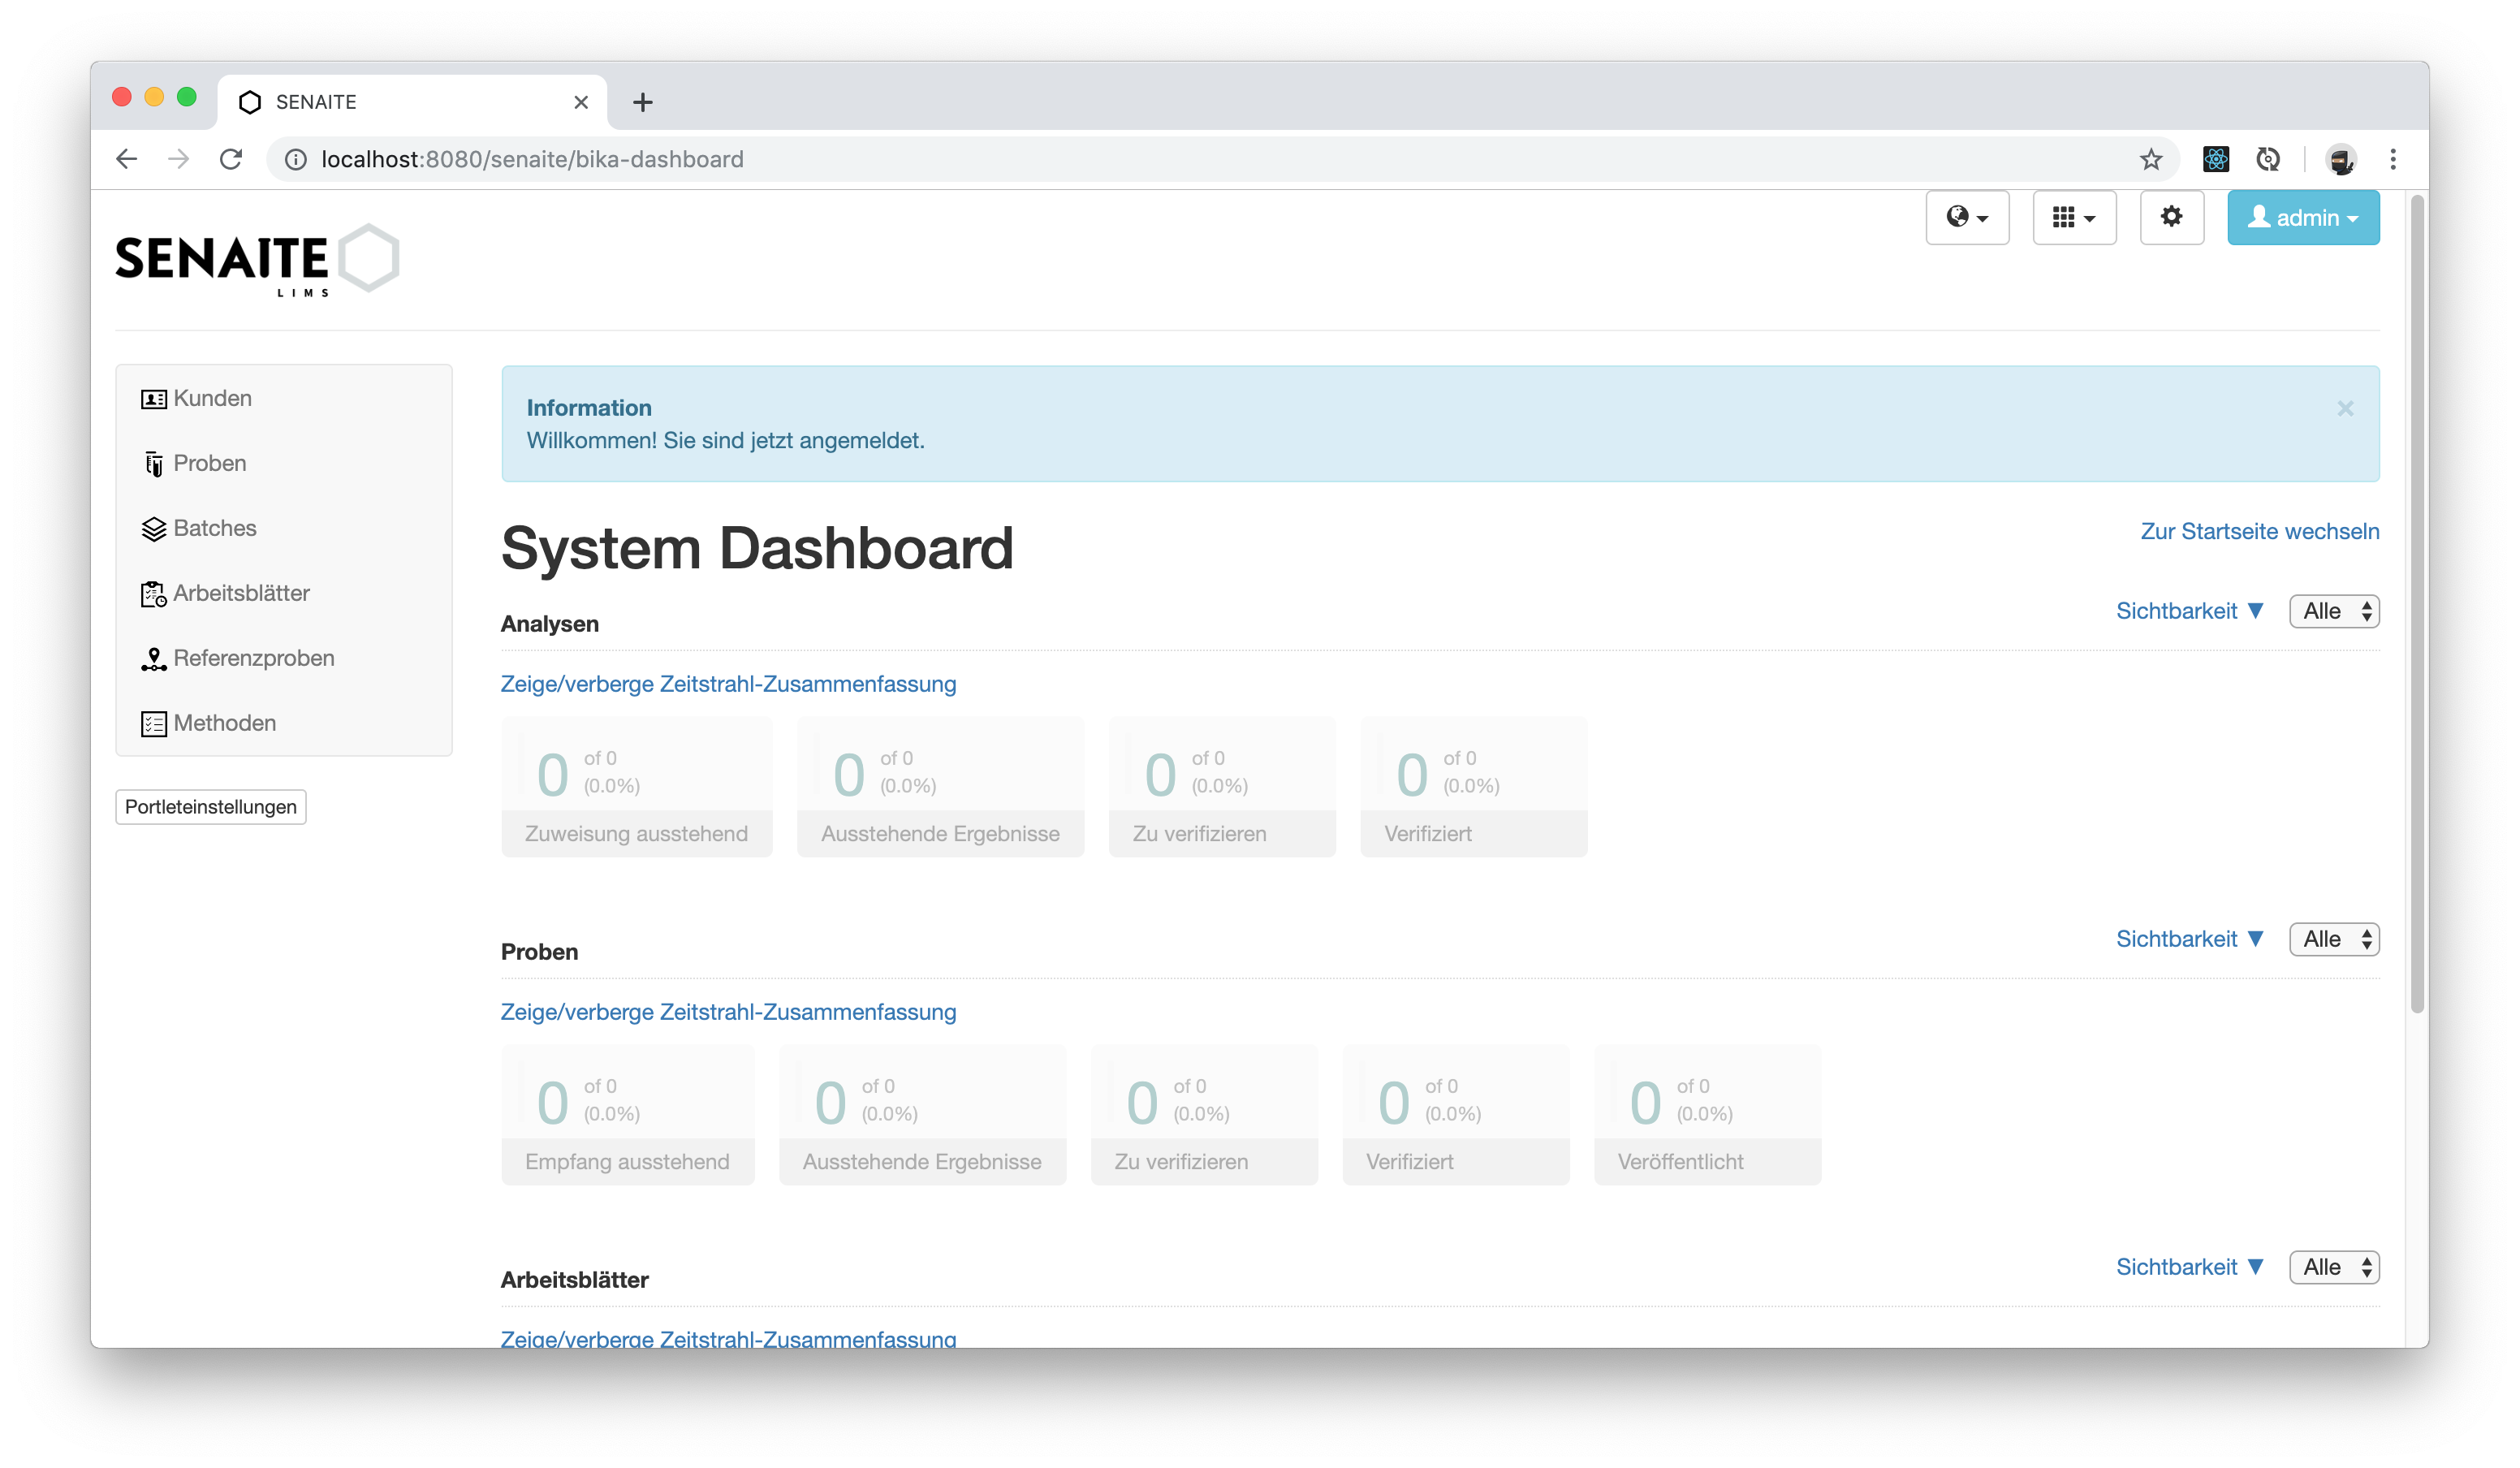
Congratulations 🙌 you successfully installed SENAITE LIMS on your system!
Please continue with the next sections to learn the first steps in your new system.